

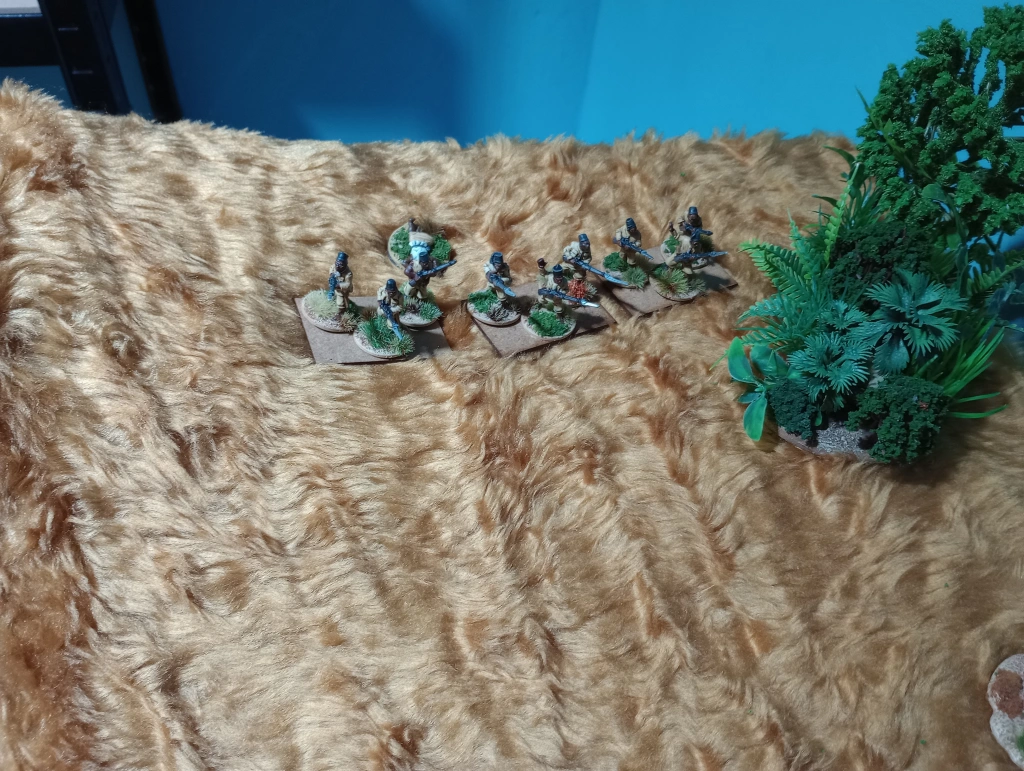
I finally got around to having a trail, solo, game of Death in the Dark Continent (DitDC). At the moment I only have the Lite version of the rules, that came free with Wargames illustrated Magizine, this Lite version has all the basic rules but leaves out some optional stuff and the Army lists. I had a quick look at my miniature collection and decided to use my Arabs/Swahili army vs my Central African rifles. My miniatures are all individually based so I blue tacked them to some 60mm frontage bases, not the most visually appealing, but for try out game good enough.
I had no army lists but I’ve been researching and painting Darkest Africa for long enough that I feel confident giving troops my own ratings based on my research. I only went for two small armies for this first test game. The Lite rules suggest 200-300 points, but I went for roughly 150 points each. I slapped some terrain down on my table just trying to produce something that looked African. I came up with a quick background to give the battle some context.
By the late 1890s Africa was mostly divided up by the European powers. While the maps in London, Lisbon and Berlin showed nice orderly lines dividing up the continent and allegedly showing control of the land. The situation on the ground was a little different, along these new borders, local forces were often isolated and few in numbers. Meanwhile slavers and raiders continued to ply their age-old trade taking advantage of the new borders to constantly avoid interception.
The slaver Aziz Mwamba has been taking the advantage of the border separating the British Central African Protectorate and Portuguese East Africa raiding both sides of the border for slaves and loot before slipping across the border to avoid pursuit by British or Portuguese colonial authorities, neither who are prepared to start an international incident by crossing into another European powers zone of influence.
Last week Aziz crossed into British territory and captured the village of Mwakhiwa to use as a base for his slaving operations. Unknown to Aziz a young village lad escaped the attack and hiked to Fort Anderson to alert the British authorities under Captain Percival of the Rifle Brigade. Quickly gathering a patrol from the fort’s garrison Captain Percival forced marched to Mwakhiwa picking up some local Lomwe auxiliaries on the way. Guided by the Lomwe Captain Percival’s patrol has managed to sneak into position near the village as the sun breaks the dawn sky the British launch a surprise attack on the Slavers.
The two sides looked like this.
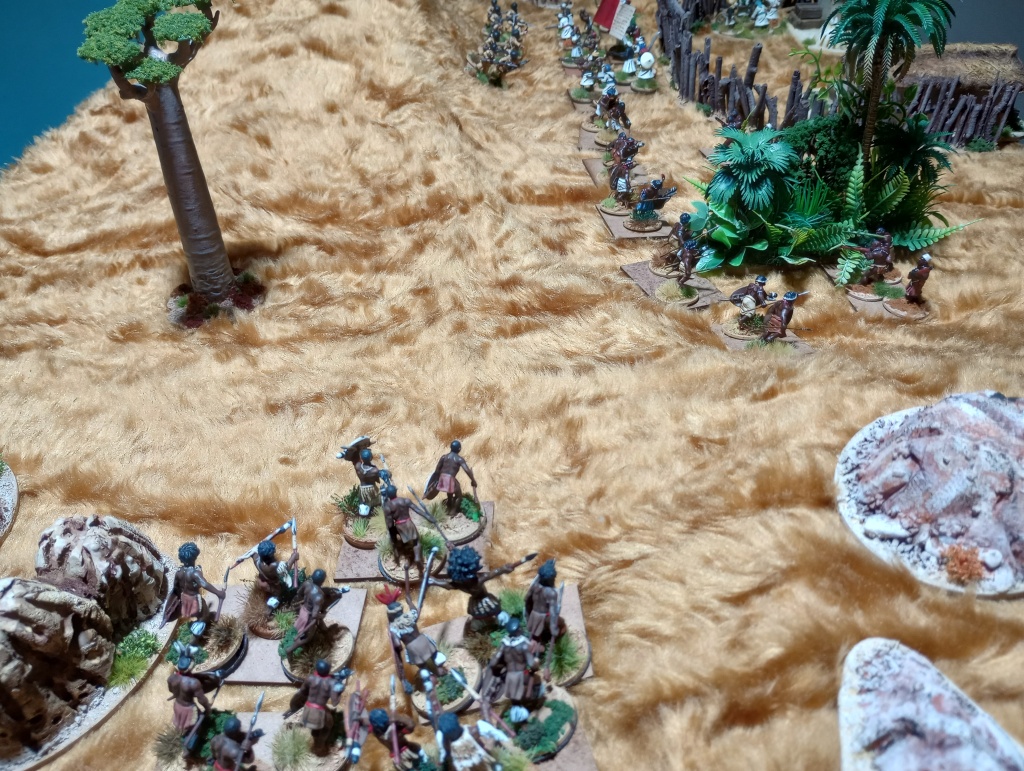
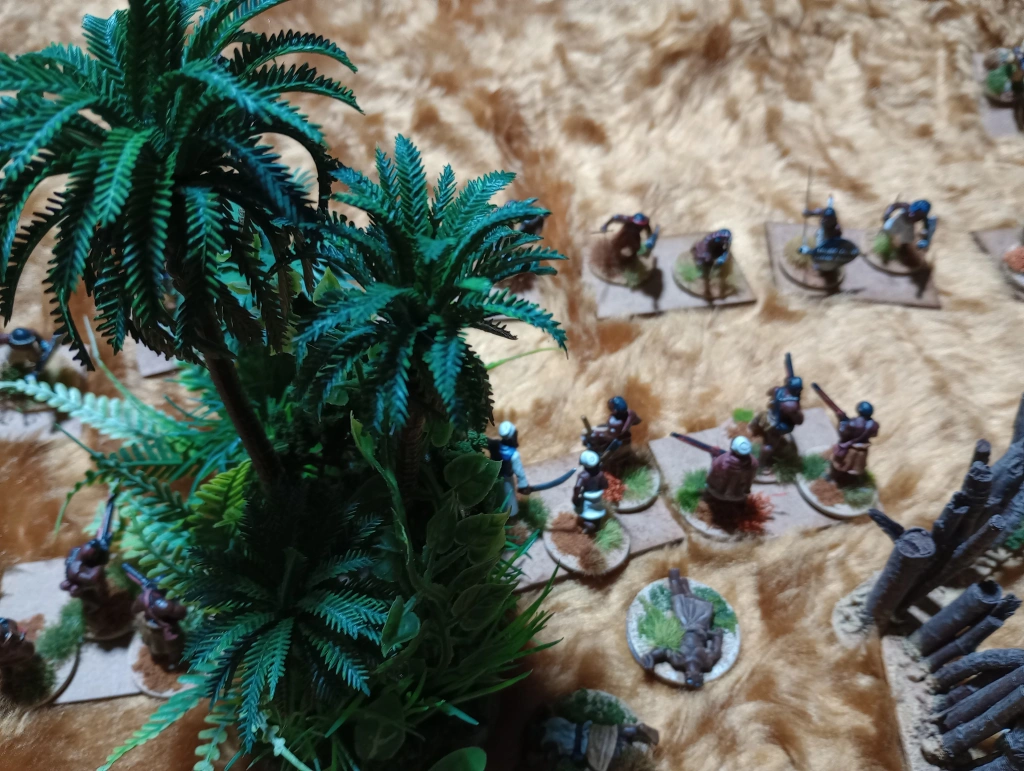
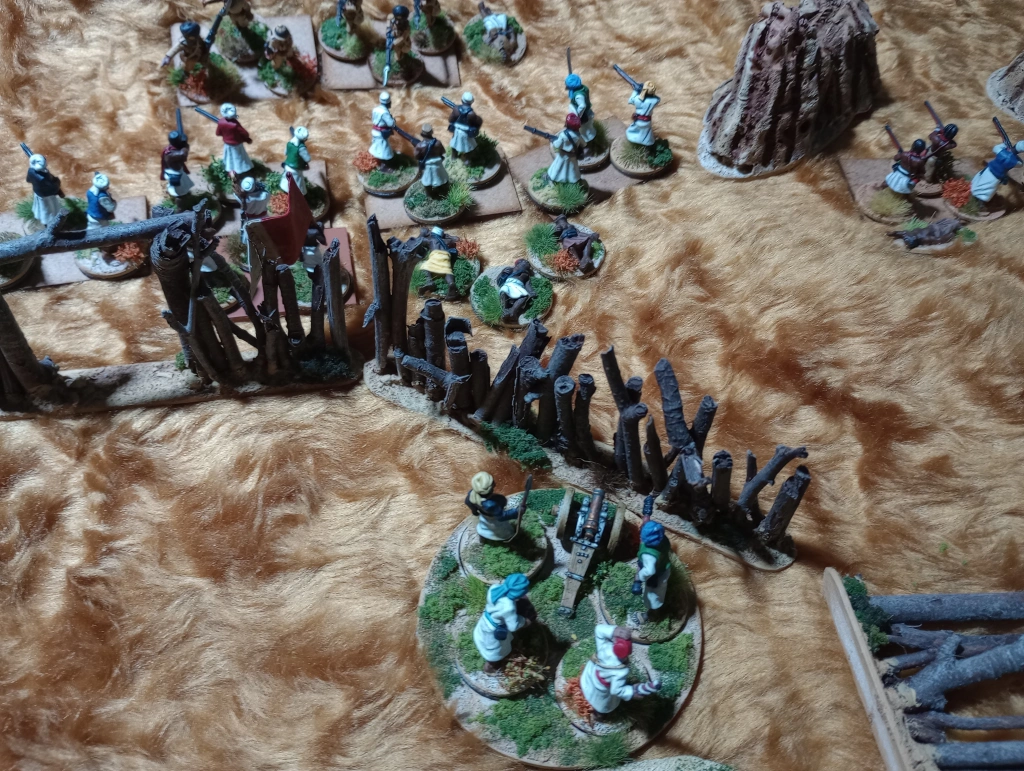
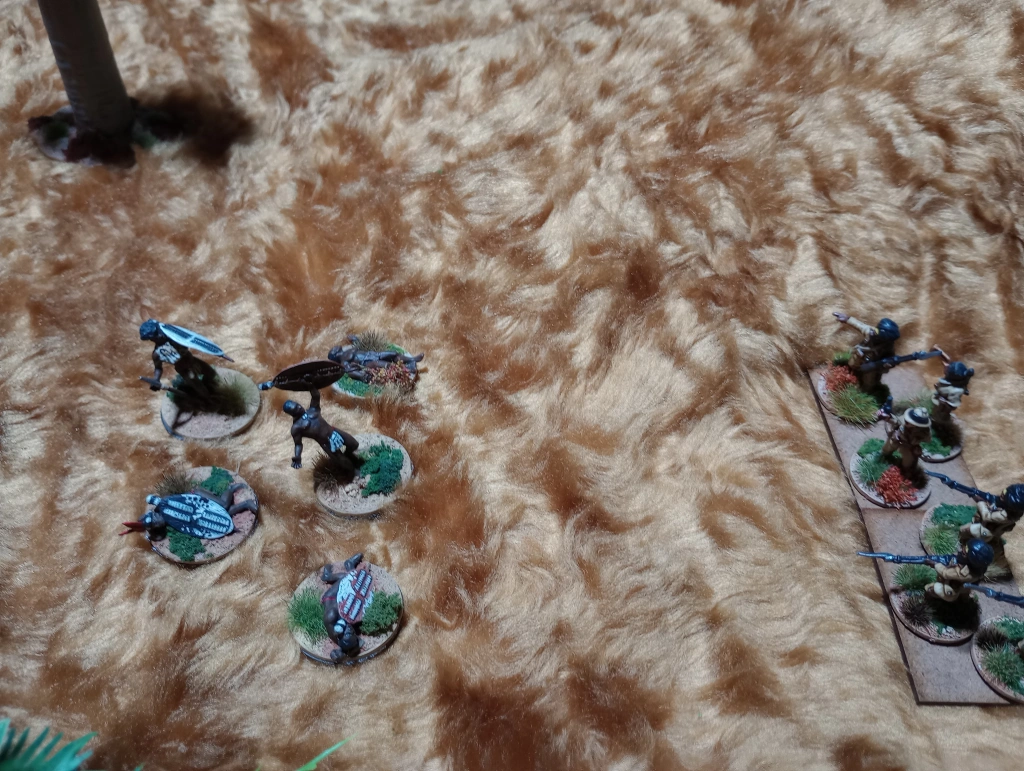
Aziz Mwamba’s Slavers
Aziz: Chief Organised, Soldier, Musket, Untrained
Swahili Followers: 5 Bases Soldiers, Muskets, Untrained
Yao Followers: 4 Bases, Muskets, Untrained
Yao Followers: 4 Bases, Muskets, Untrained
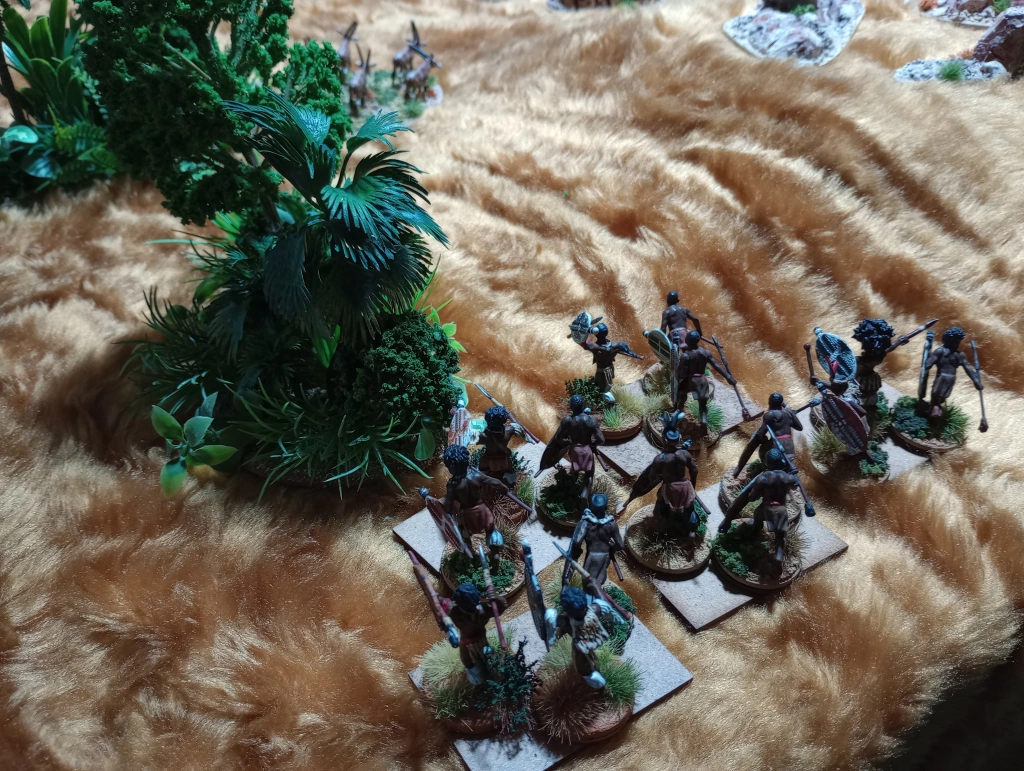
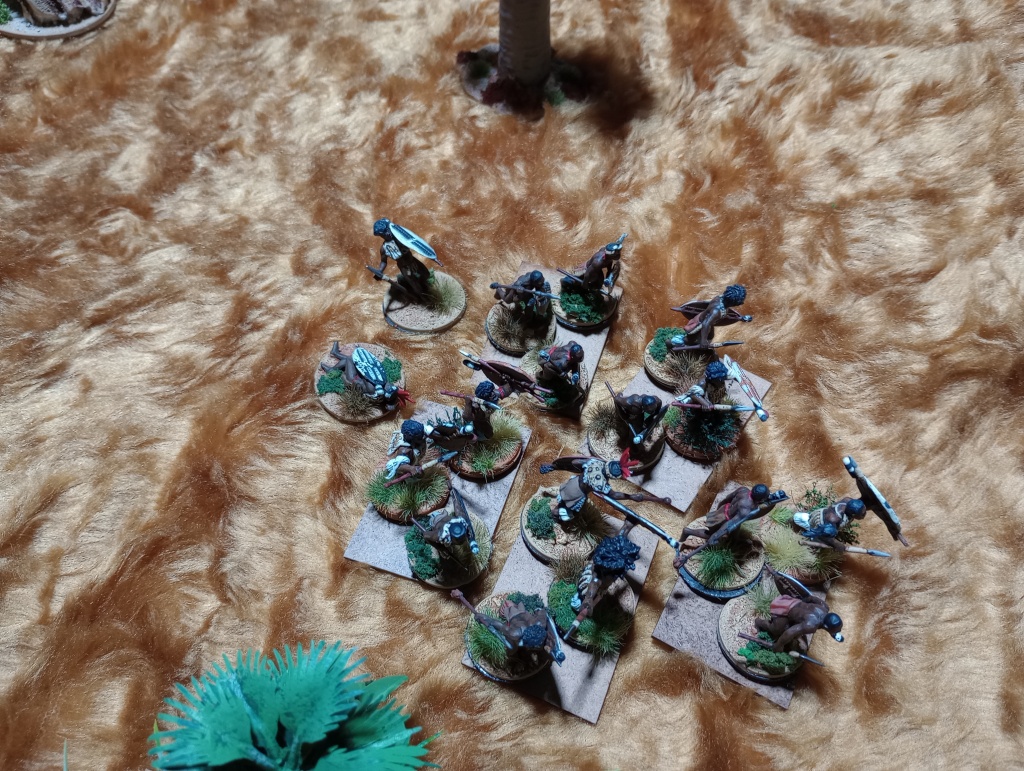
Maseko Ngoni Mercenaries: 5 bases of Warriors with Close Combat Weapons
The Big Gun: Muzzle loading cannon, Untrained
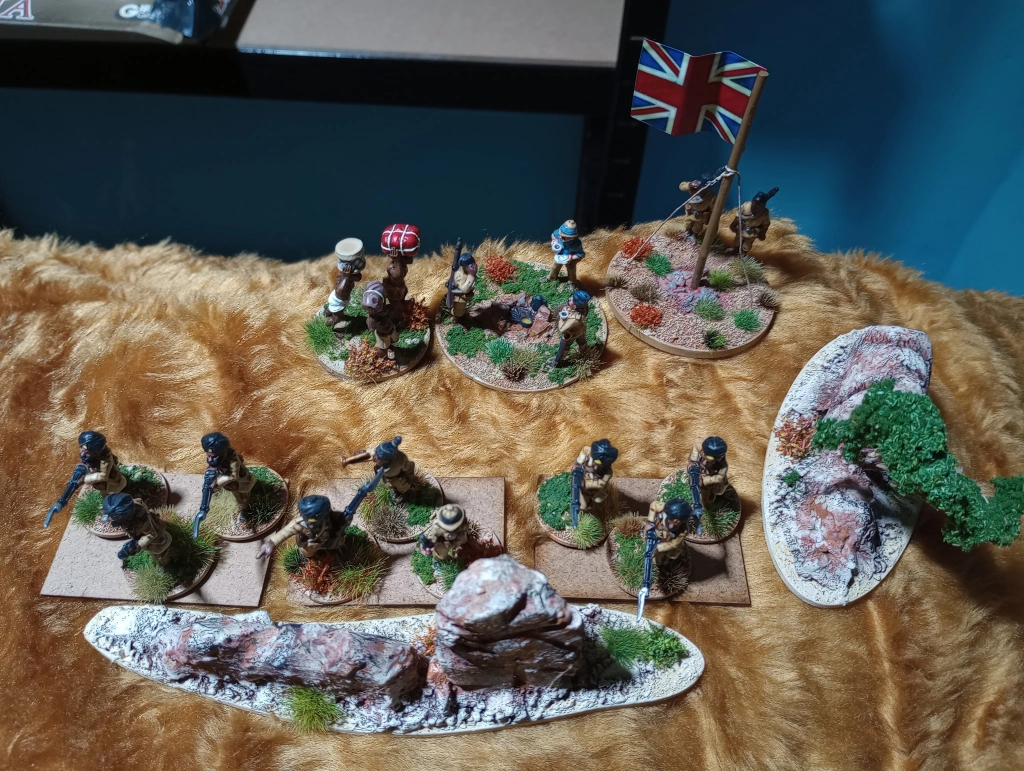
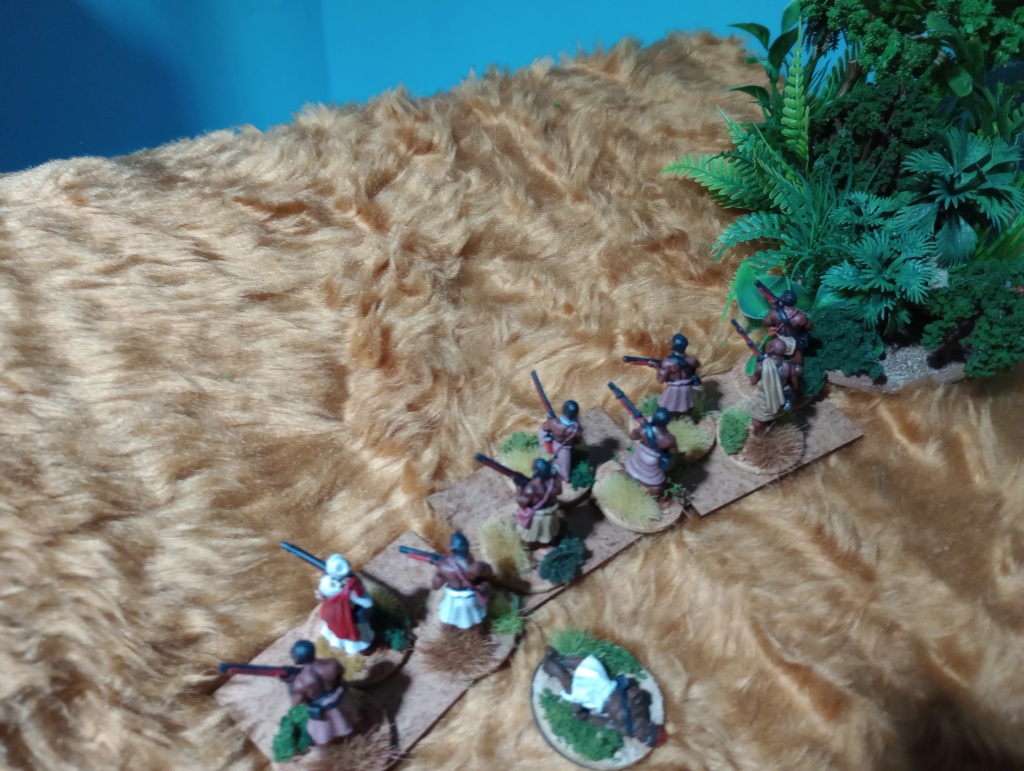
Captain Percival’s CAR Patrol
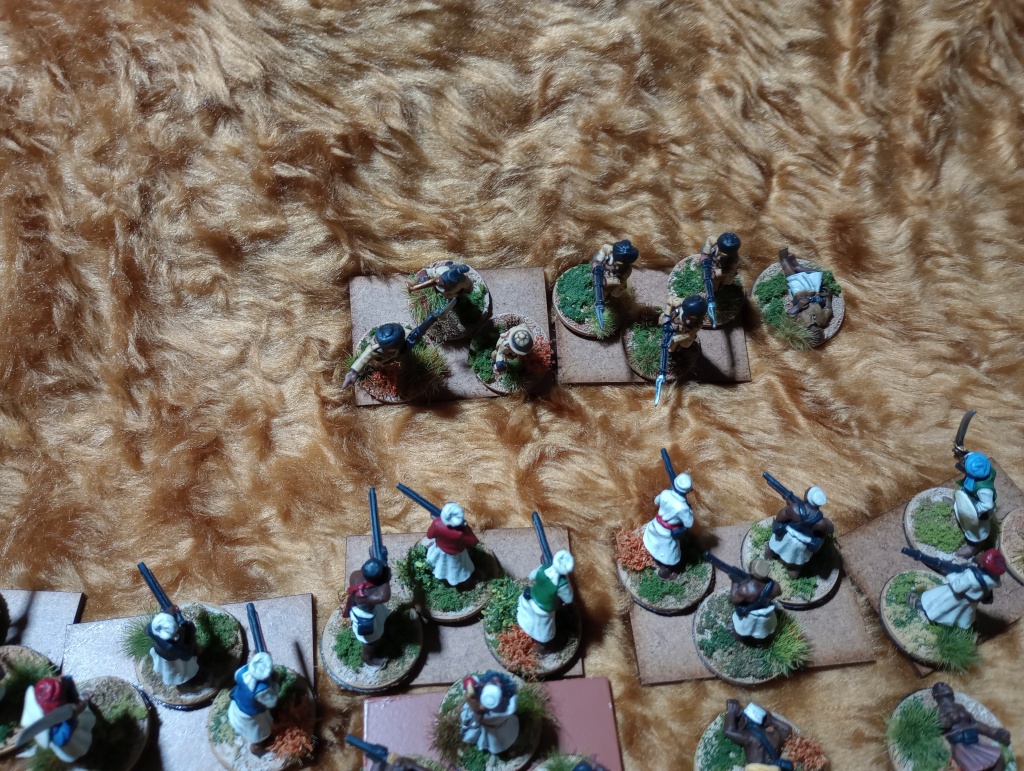
Captain Percival: Chief Disciplined, Soldier, Elite, Breech Loading Rifle
Sikhs: 2 Bases Soldiers, Elite, Breech Loading Rifles
African Askari: 3 Bases, Soldiers, Breech Loading Rifles
Lomwe Allies: 5 Bases, Skirmishers, Raw, Spears
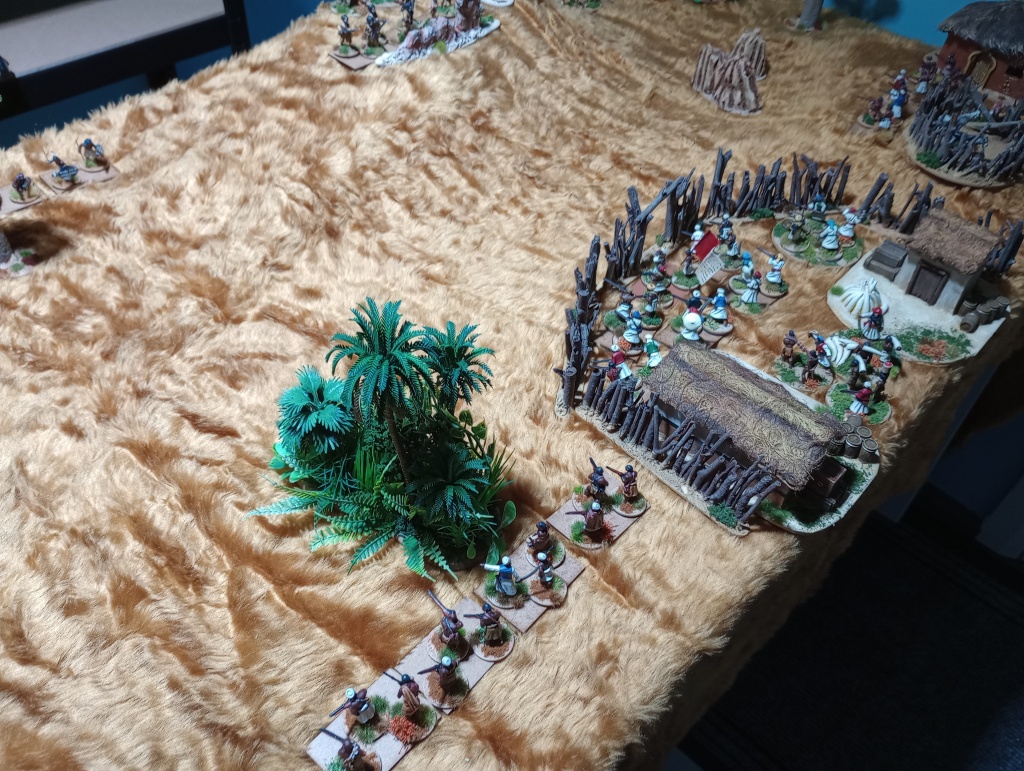
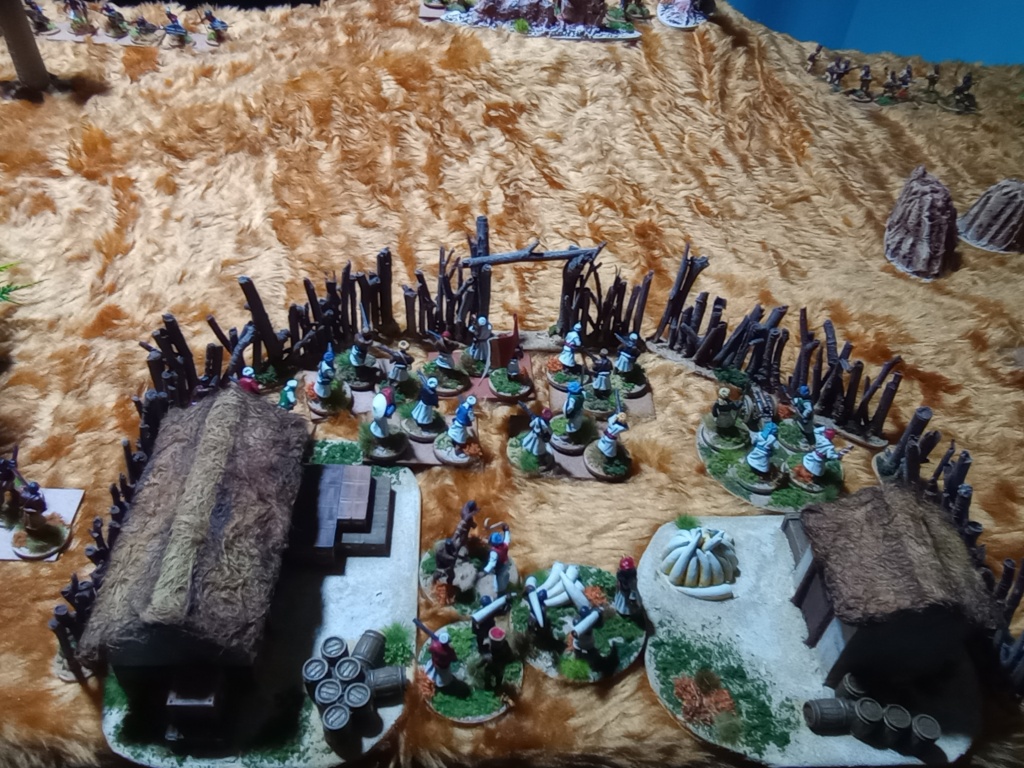
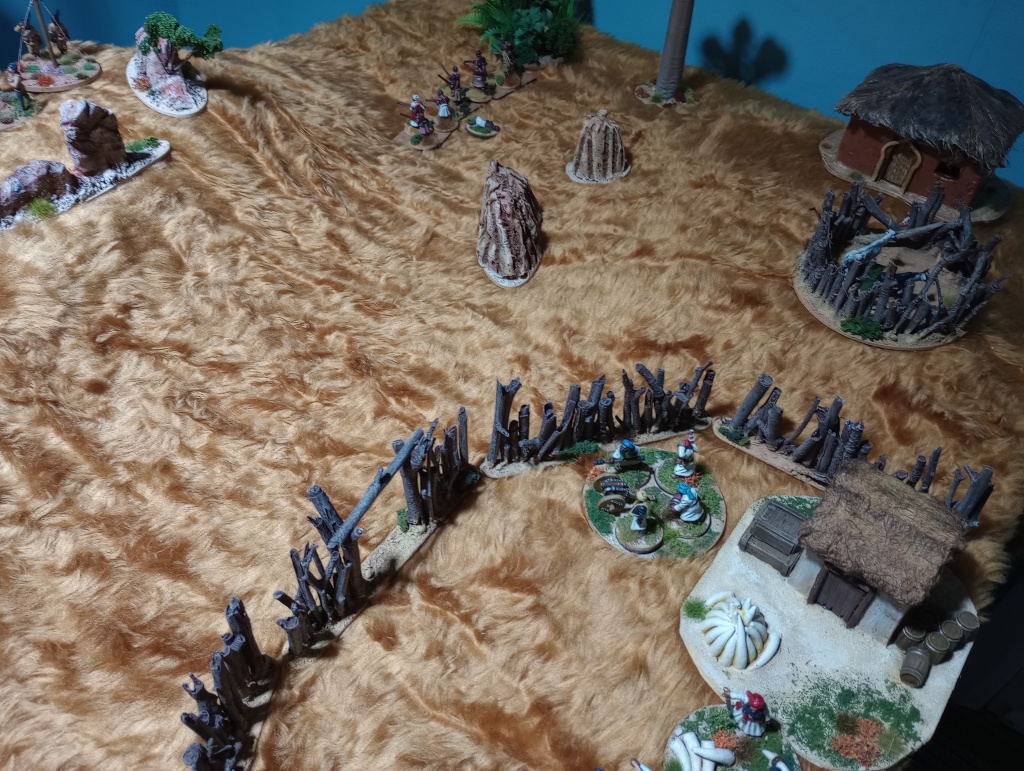
Set up wise the British set up with Captain Percival and the Sikhs on the big hill overlooking Mwakhiwa village, the African Askari on the left and the Lomwe auxiliaries covering the right flank. With only three units the British plan was simple the Sikhs would pin the slavers in the village with rifle fire. The Askaris would take the cattle kraal, to their front, and then swing around to take the village from the flank. The Lomwe were given the rather ambitious task of keeping the other enemy units pinned down long enough for the other units to do their thing.
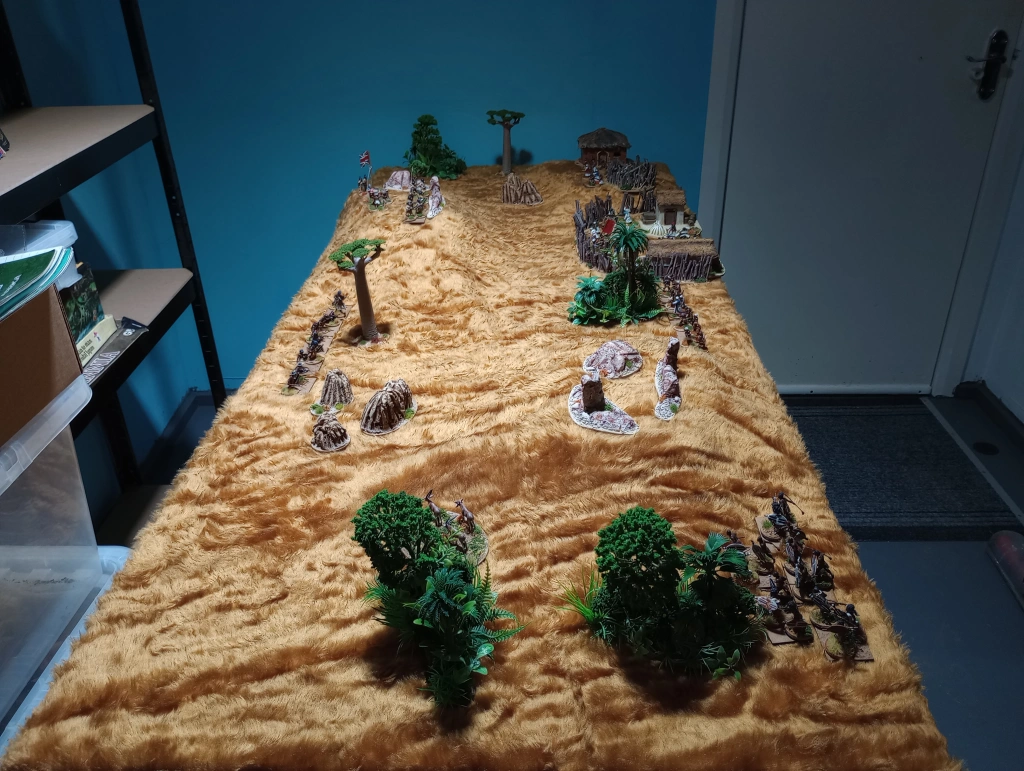
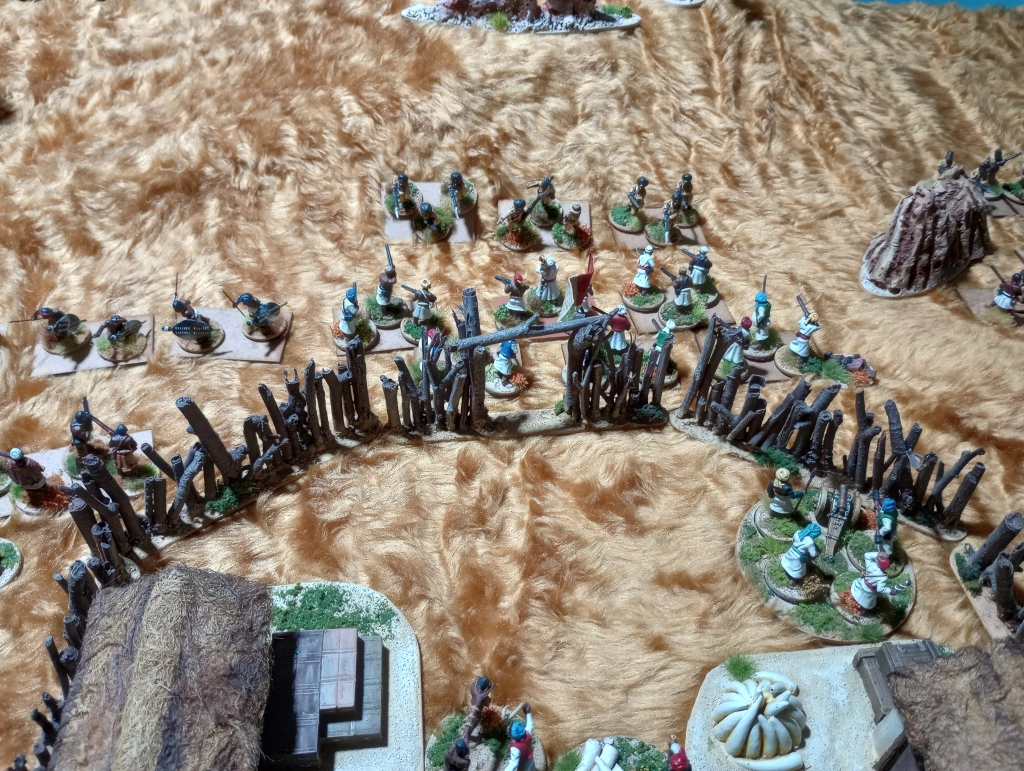
The slavers with a larger number of units were a bit restricted in deployment Aziz and his Swahili followers occupied Mwakhiwa village with its palisade along side the cannon. One unit of Yao deployed on the hill with the cattle Kraal. The other unit of Yao protected the left side of the village. While the Ngoni mercenaries were deployed on the far right. The plan was to hold the village and kraal with musket armed units and the cannon while the Yao and Ngoni on the right attacked, swept aside the Lomwe, and then flank attacked the other British units.


At this point I hadn’t given the rules much more than a skim read, so both plans had major flaws especially with regards to weapon ranges and movement.
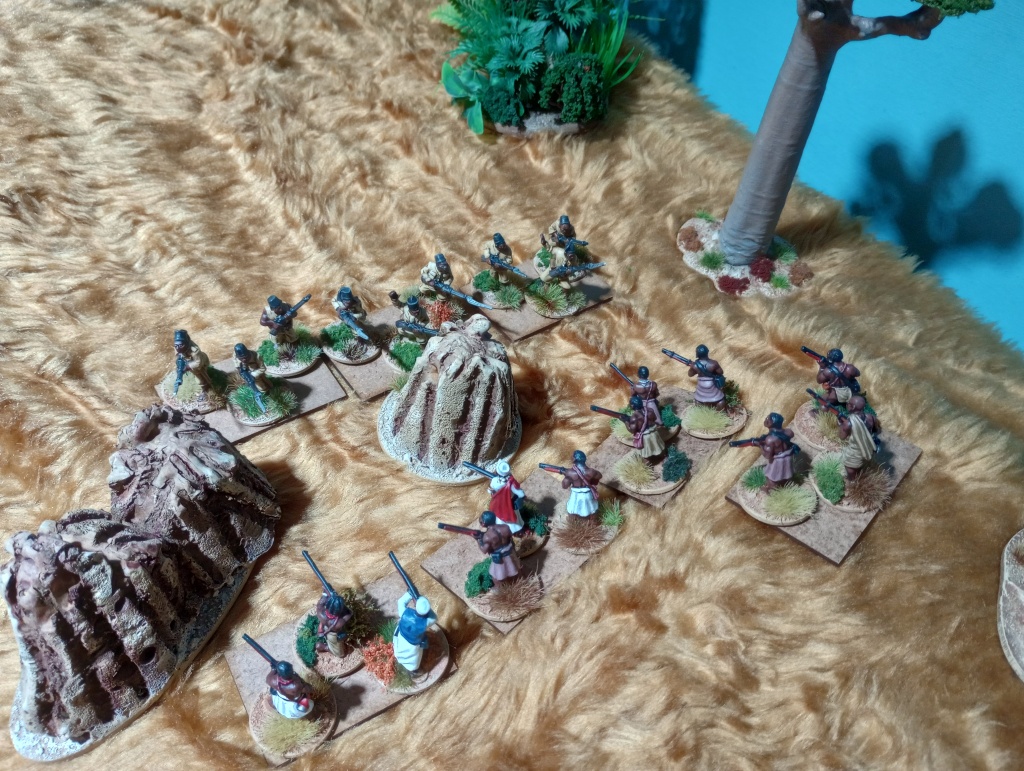
Early turns: The first couple of turns quickly showed me the folly of my plans when I realised the slavers muskets only had a 4” range while the British snider rifles had a 20” range which meant standing on the defensive just left the slaver units to be shot at for no reply. Worse for the slavers due to the untrained nature of the crew their cannon was also outranged by the British rifles. The Sikhs also realised that while sniping from the hill, at the enemy in the village, was possible given the long range, and the slavers hiding behind a sturdy stockade, meant it wasn’t going to be a very effective tactic. The first few turns were generally uneventful the British long-range shooting wasn’t very effective, the slavers decided to advance along the line to bring their muskets in range. The main action was on the British right. The Ngoni flank attack was moving at a snail’s pace, due to some unkind dice rolls, meanwhile the Lomwe (who in theory were the worst unit on the table) attacked the Yao in front of them with a hail of spear throwing that was most effective (hello natural 20) in contrast the Yao’s musketry was dire. In the next turn the oddly one side firefight continued with similar results and the Yao being destroyed due to accumulating disorder markers both from shooting and morale checks due to losing bases to the laser guide Lomwe Spears.
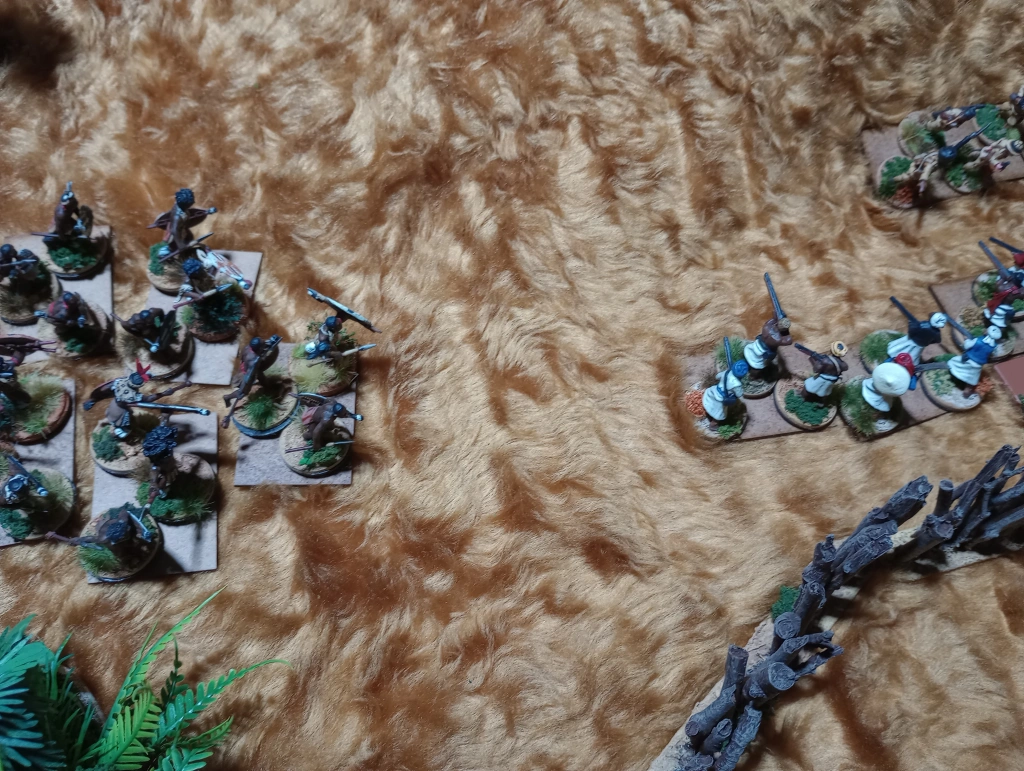
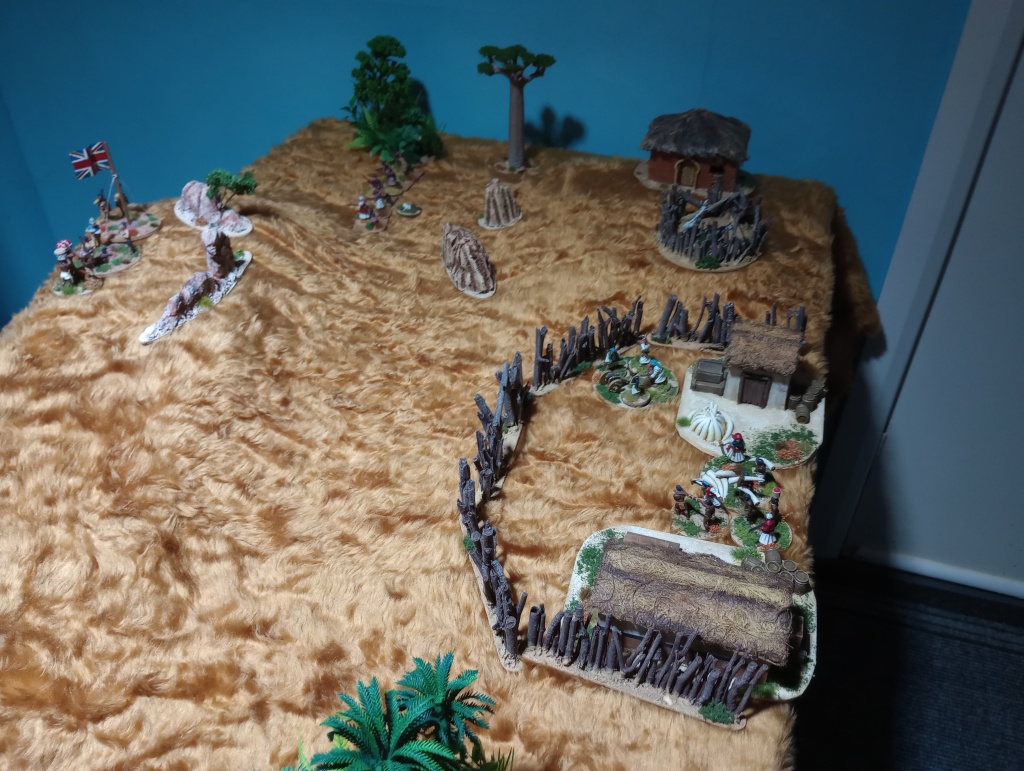
Mid Game turns: Both sides had advanced on each other both in the middle and along the Kraal flank. For the slavers this was to get the chance to actually fire their muskets while for the British it was to try and make the breach loading rifles more effective at closer ranges. On the British right the rather surprising success of the Lomwe saw them swing on the flank of the big Swahili unit. A combination of Lomwe spears and Sikh rifles took a toll on the Swahilis even removing a base. Seeing the Swahilis wavering the Sikhs and captain Percival went in with the bayonet only to be repulsed. The Lomwe and the Sikhs tried again, with shooting, the following turn destroying Aziz and his Swahilis with disruption marker build up. Despite the death of their chief the rest of slavers seemed unconcerned passing their morale tests easily. The Lomwe didn’t get much chance to enjoy their success as the Ngoni finally arrived and massacred the skirmishing tribesmen in bloody demonstration of Shaka’s military innovation. The Sikhs where now trapped between the victorious Ngoni and the slavers cannon in the village. Deciding the Ngoni were the greater threat the poured rifle fire into them causing enough disruption that the Ngoni couldn’t advance unable to remove their disruption markers (thanks to poor dice rolling) they were whittled down by rifle fire until they fled after picking up to many disruption markers. On the Kraal side of the battlefield the Yao and Askari put up a particularly lacklustre display of doing very little to each other the Askari did remove a base through shooting which resulted in a rush of blood and attempt to finish things with a bayonet charge poor dice rolling saw the Askari repulsed and even losing a base themselves.
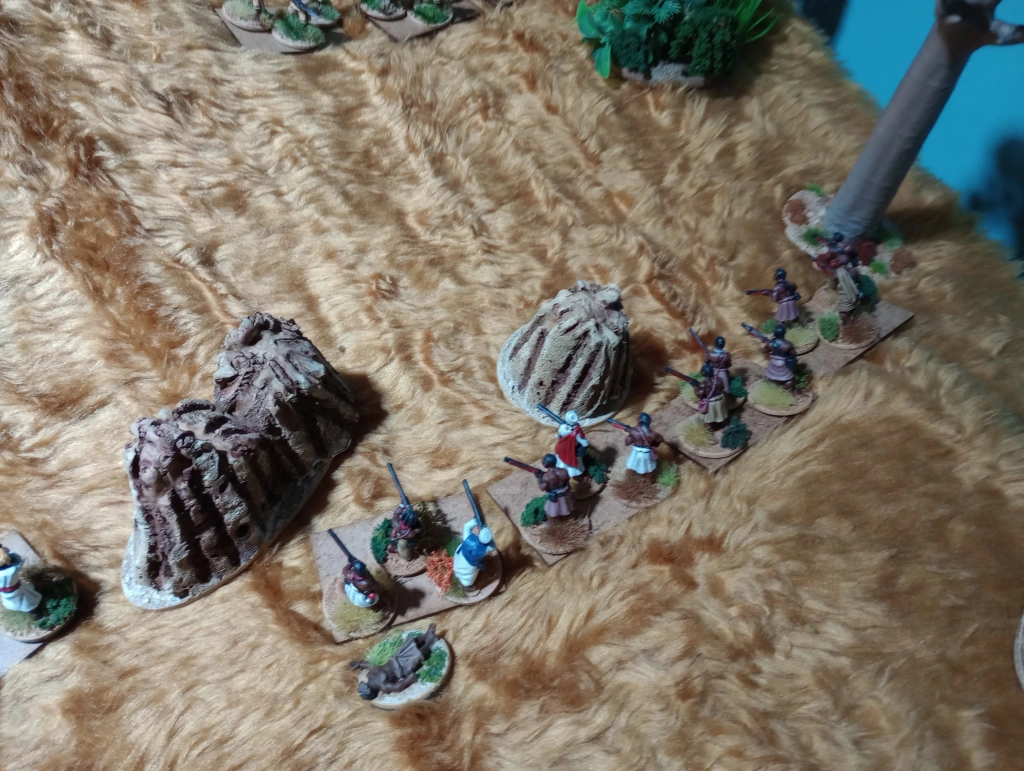
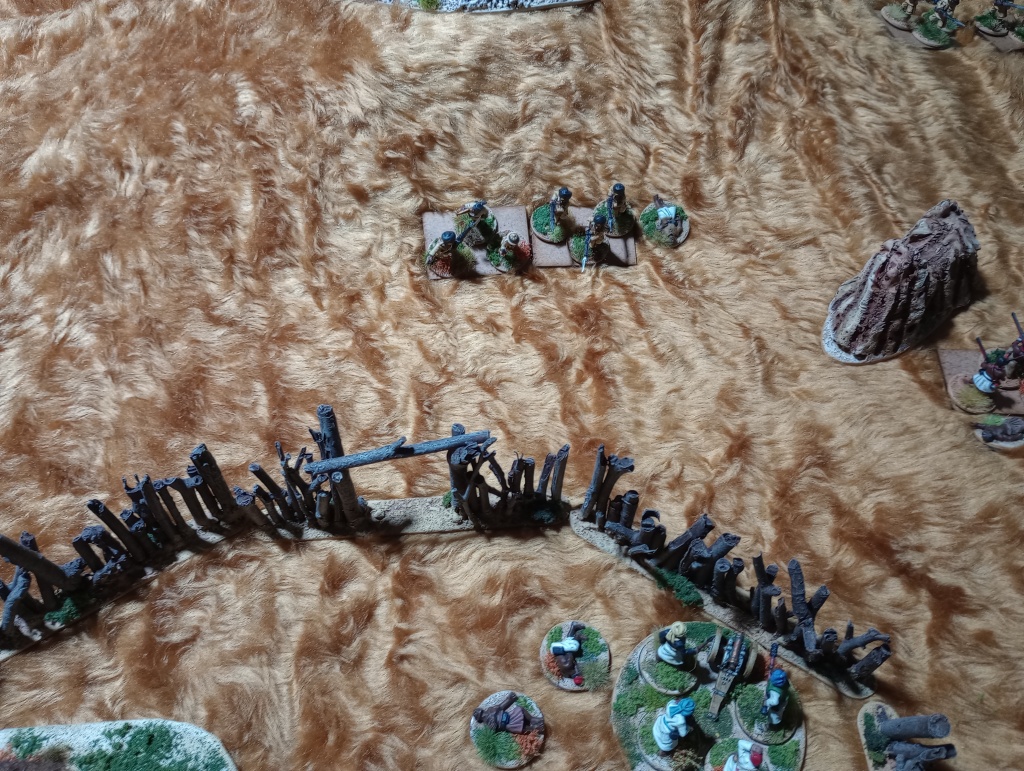
End Game: At this point it looked like a British victory was on the cards all was left was for the Sikhs and captain Percival to see of the slavers cannon and then swing around and take the Yao in the rear. The slaver cannon had to this point done nothing of use as it constantly struggled to find a target in range and/or in its fire arc. Now however the Sikhs were bearing down on the cannon and its crew the first exchange of fire was ineffective from both sides, so the Sikhs decided to go in with the bayonet more terrible dice rolling resulted in them being repulsed, with loses and disorder markers. Failure to remove the disorder markers left the Sikhs sitting ducks as the slaver artillery men found their range and inflicted enough disorder markers to remove the Sikhs and the attached Captain Percival. The last British unit the Askaris continued to trade fire with the Yao both sides inflicting disorder markers the Yao looked likely to break soon but two outstanding rallying phases took them from three disorder markers to none while the Askari just couldn’t shift their disorder markers resulting in them breaking before the Yao. Which left the slavers in control of the battlefield with a hard-fought win.
Conclusion: I really enjoyed the game. It took me a few turns to get a hang of the mechanics and I made few mistakes. For example, I was removing units once they had gained four disruption markers but on re-reading the rules, after the game, units are removed if they have more than 4 markers. Rolling D20s for firing worked well enough and firing by base instead of unit was fine once I got my head around it. The close combat mechanics are interesting and work quite well though I found the idea that numbers don’t effect close combat a little odd and it feels a bit unfair on big units of warriors who can’t bring their numbers to bear. The disruption Markers work well in showing the gradual decline in effectiveness of units by linking certain penalties to what a unit can do with a certain number of markers, and I liked that. By the end of the game the rules mechanics were starting to become second nature. I defiantly want to try a couple more games and if I enjoy them as much as the first one, I’ll invest in the main rulebook. I’ll need to invest in more casualty miniatures as I have quite a few already but I was still running out at points due to all the disruption markers in play.
